Erez Marom Photography
Shooting Kīlauea Volcano, Part 2: Grounded
Posted on 1st June, 2018 - Back to Blog Listings
In the first part of this series, I talked about shooting Kilauea's lava surface-flows using a drone. Now, I'd like to take a step back and talk about shooting the lava in a more traditional method: using a DSLR on the ground.
If you're inside the Hawaii Volcanoes National Park and can't fly a drone, this is the only affordable way of shooting the surface flows. But even if a drone is an option, shooting from the ground is different and will give you unique opportunities and some challenges. Shooting with a DSLR might be the least technically challenging way of shooting the lava in Kilauea, but it's not as easy as you might think.
First of all, there's the challenge of traversing the lava on foot. You're basically walking on very hard, sometimes jagged terrain, and moving from point to point searching for compositions can be strenuous. As I've mentioned before, it's a 7-8 km hike to get to the surface flow area, but there's much more hiking on location to get the actual shots.
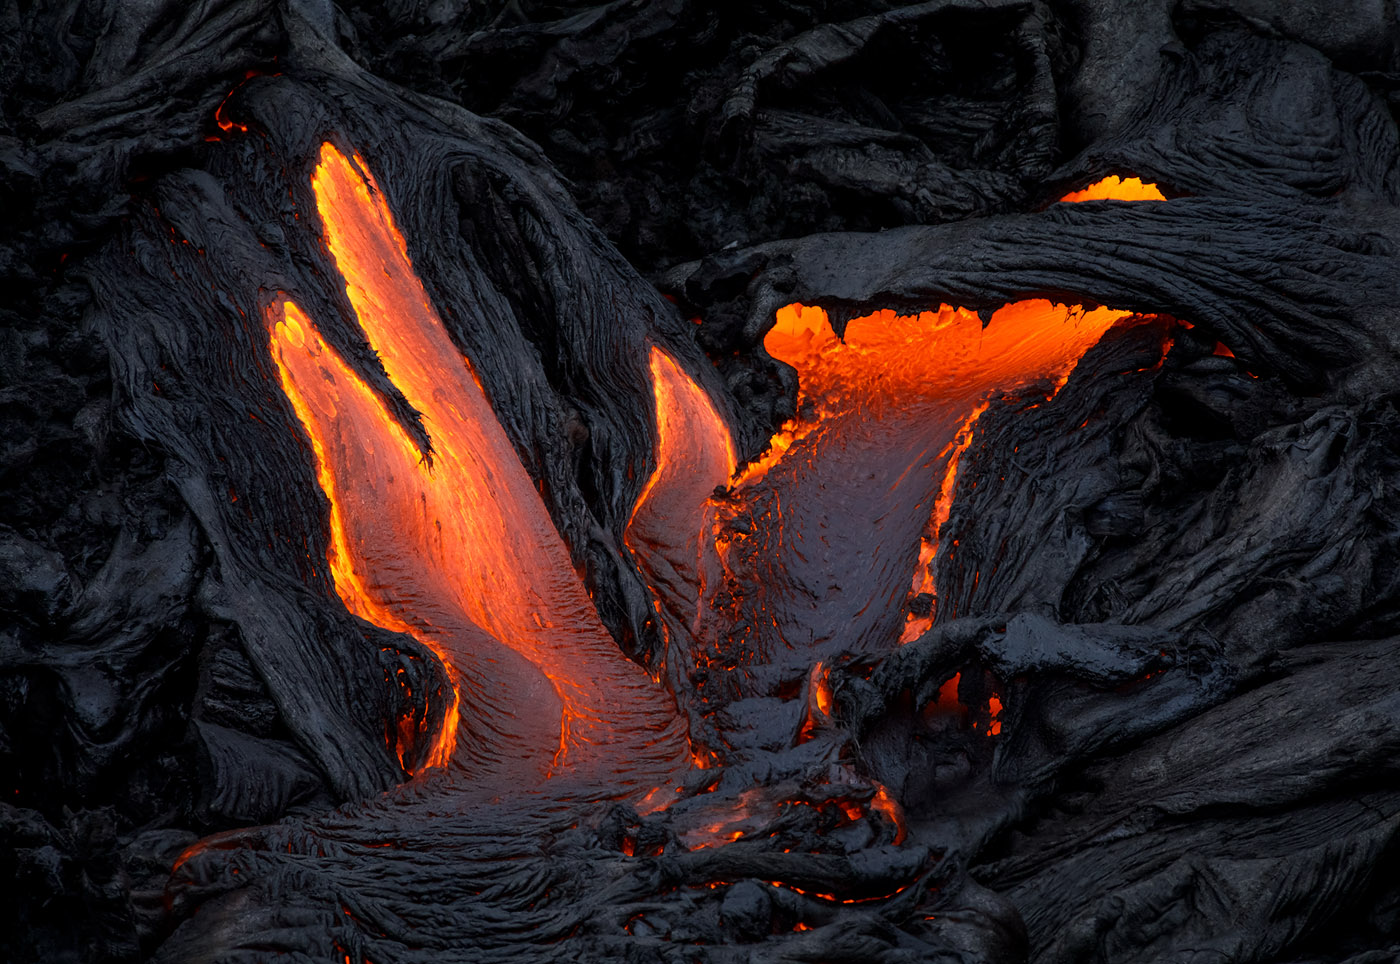
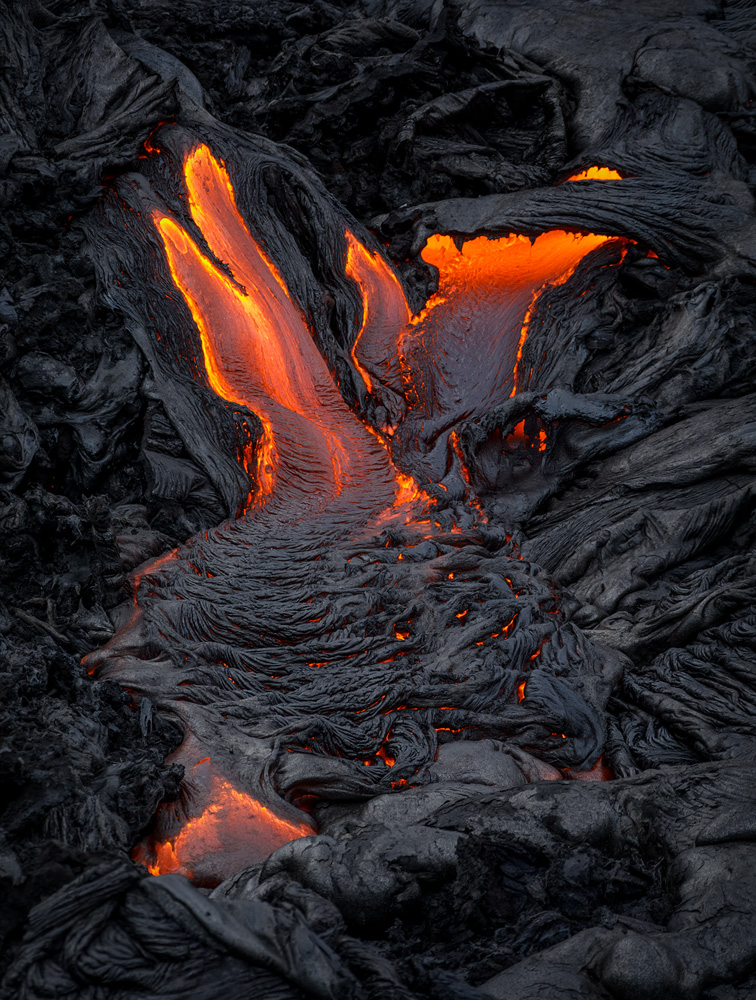
When shooting, you often want to get as close as possible to the lava, in order to get more detail and/or a desired perspective. This might be a problem in some cases, as the lava is about 1100 degrees Centigrade, and this temperature can be felt very well even from several meters away.
In some of the shots, I felt like I was inside an oven. I had to find my composition quickly, take a few images, and run away, since staying there would become unbearable after several seconds.
Protective gear is very important. The bare minimum would be a long-sleeve shirt, sturdy, ankle-high hiking boots, long pants and, of course, gloves. The latter are needed both because the skin on your hands is struck by radiating heat from the lava, and because the tripod can get very hot after staying near the lava for some time. I would also recommend a beanie to protect your forehead and ears from the heat.
Don't neglect listening to your body—if you ignore the heat and the pain, you might find yourself with second-degree burns. I've mentioned it before, but a good guide is very important when hiking to dangerous surroundings, and can keep you in the safe zone (if you so wish).
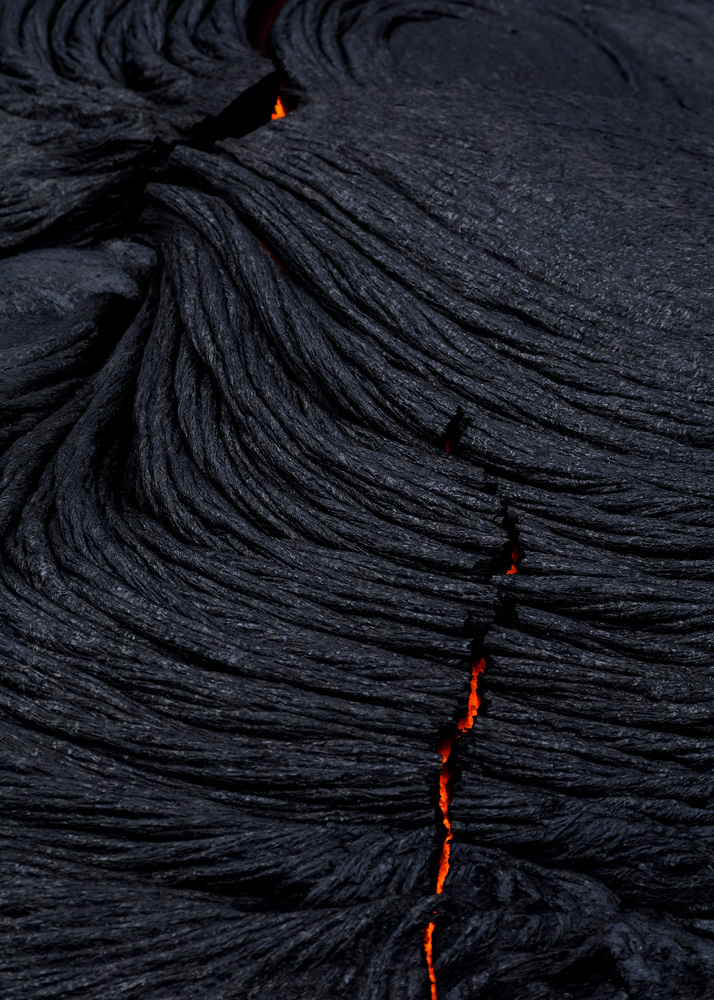
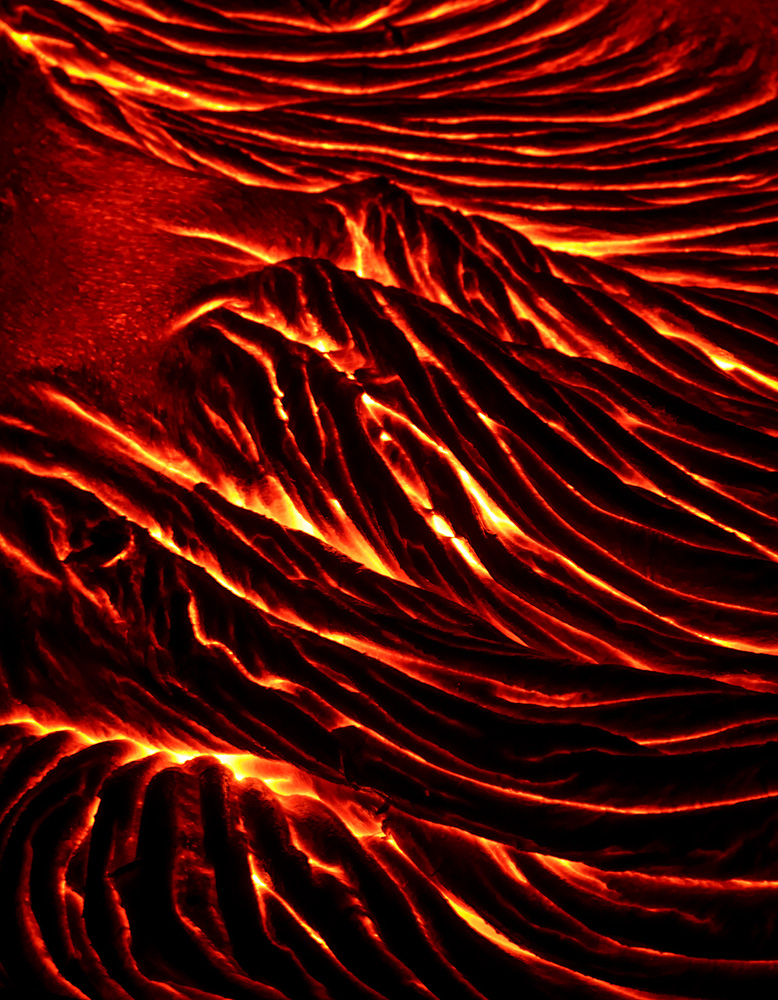
Last but not least, there's the heat-haze problem. The heat creates this well-known blur, which means some shots cannot turn out sharp, no matter how well-focused they are. A decent solution can be waiting for the wind to blow the hot air and supply a short relief from the haze, but the wind doesn't always cooperate. You're left with the option of talking multiple shots in hope that some turn out relatively sharp. Another approach is using the haze to your benefit in an artistic way. It surely conveys the feeling of heat to the viewer.
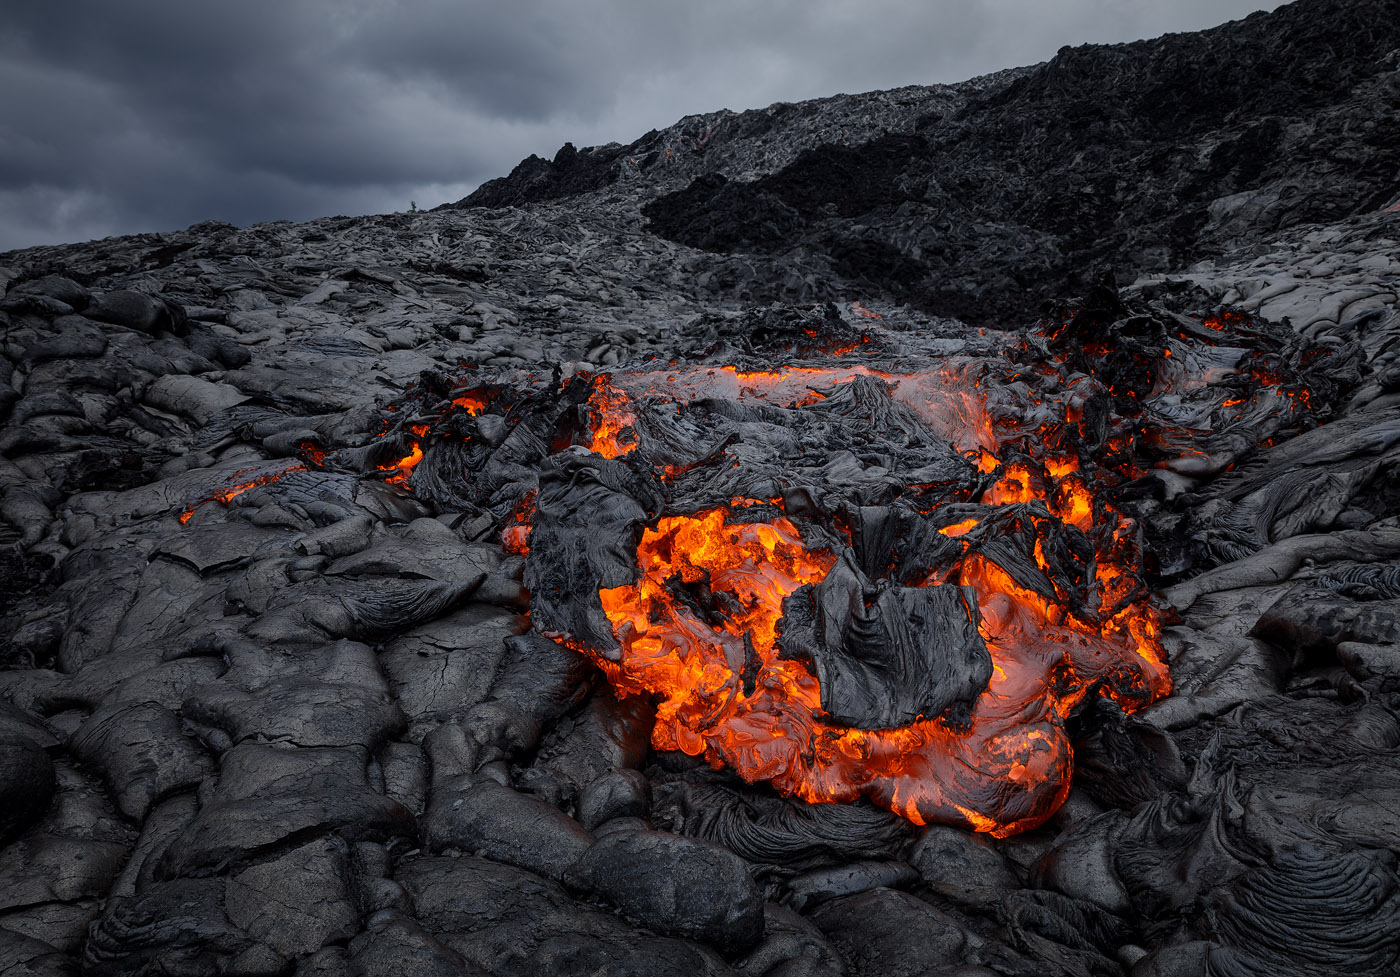
The Hawaiian sunset is brief, which means the really good light is short-lived, and after that's gone you're going to need a tripod to keep stable. This naturally makes shooting much more cumbersome, and prevents the shoot-and-run-away technique mentioned above. The upside is that there's beautiful contrasty details to be shot, which makes for good abstracts.
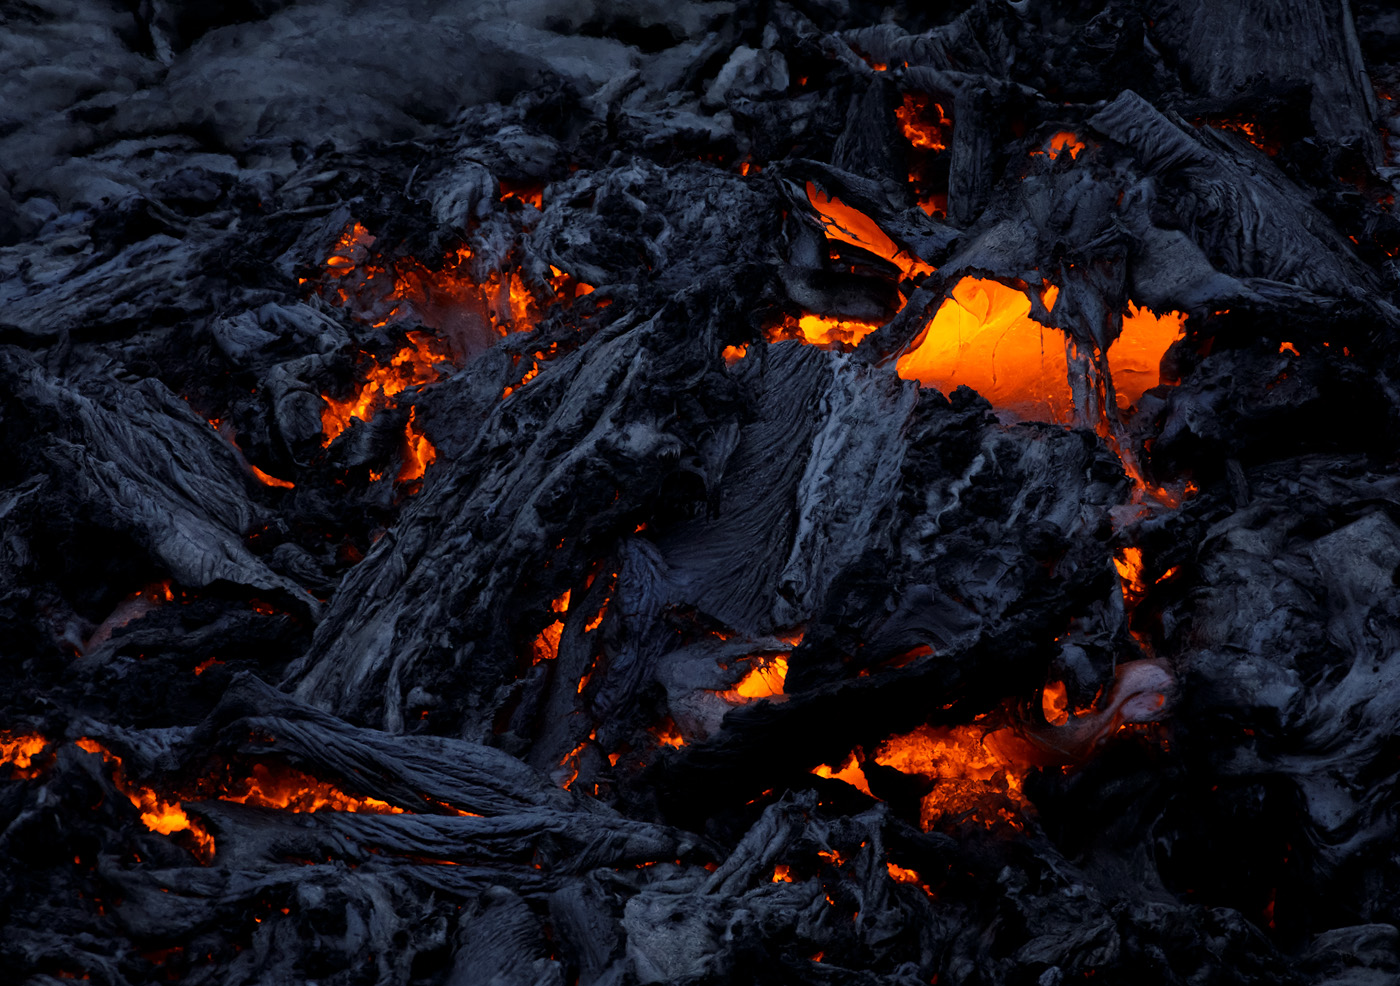
Regarding photographic equipment, I mostly used the telephoto end of my focal-length range. One lens I didn't use was my 11-24mm, since it was way too wide, and the 16-35 was also left in the bag most of the time. The lenses I used the most were my 24-70mm and especially my 70-300mm. The latter enabled me to get the intimate details of the lava from a safe (or rather possible) distance.
Next time I'll talk about shooting the lava from a boat.