Erez Marom Photography
Article: Behind the Shot - Winter Paradise
Posted on 23rd October, 2014 - Back to Blog Listings
On this article I'll invite you to join me for one of the most amazing nights of my life: a night that began in preparing for sleep after a hard day of shooting in the bitter cold, and finished with a light-show unlike I'd ever seen before.
Background
It wasn't easy spending a week shooting in the Mývatn district of northern Iceland. It was early February this year and I was working hard scouting locations for my 'Winter Paradise' workshop. Shooting, withstanding winds and fighting my way in the deep snow took all the precious energy I had. By evening, temperatures were down to -15 degrees and I was getting quite sleepy. On top of that, the Aurora forecast was a disappointing zero!
But the photographer's spirit can't tire, and seeing a clear night outside, I decided to take the short drive to lake Mývatn, hoping to shoot some reflections of the Milky Way. After shooting for half an hour, I began seeing a very faint streak of green color in the images on my camera screen, just above the horizon. I couldn't yet see it with my eyes, but I knew it was very weak Aurora, which matched the forecast. I was happy to get some color in the sky, but still, I wasn't expecting much more than that. As the night progressed, I was seeing more and more of that green light on my screen. At some point, I began seeing it with my own eyes, but it was still quite far from other Aurora displays I'd previously seen.
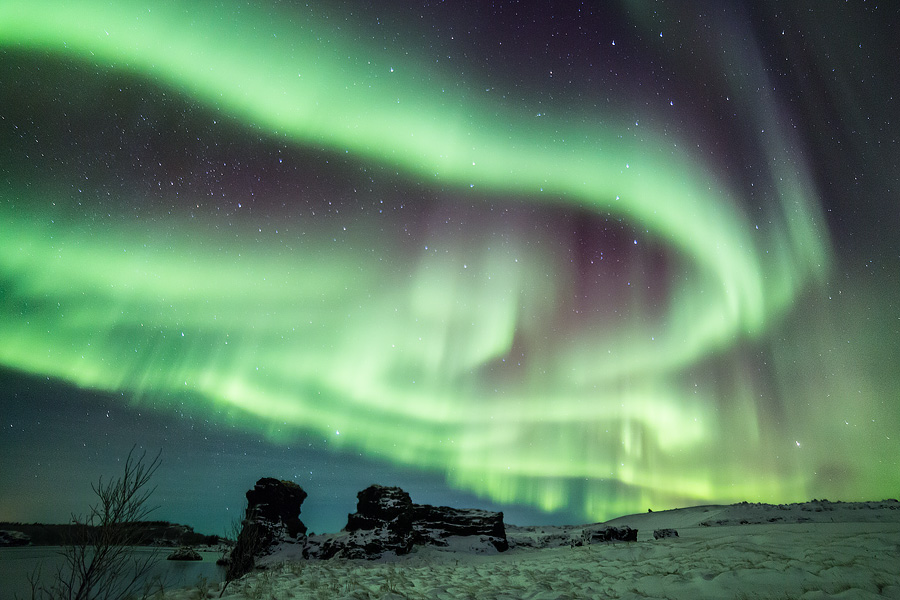
But then, something truly magical happened. The green streak suddenly separated from the horizon, rising higher and higher until it was all the way up in the night sky. In a matter of minutes it gained strength and size, until suddenly the sky just exploded with color. It was by far the most amazing natural event I'd ever witnessed. Spirals of green, red, purple and turquoise were dancing in front of my eyes, hypnotizing me and stirring very strong emotions. I was actually shouting with excitement some of the time - luckily for me there aren't many people living there, so I was spared the embarrassment! I shot many images that night, by the lake and in other locations. This is the one I'm the happiest with, and since it's the image most representative of my heavenly feeling during that night, I decided to name it 'Winter Paradise'.
Setup and Composition
Let's get a bit technical and talk about the setup and equipment I used for the image.
I used my Canon EOS 5D Mark III, and a Samyang 14mm f/2.8. This ultra-wide lens is extremely useful for night photography, since it's very sharp open wide, and its focal length enables the photographer to include a large portion of the sky in the frame.
Since the Aurora was moving relatively quickly, I had to use a rather short exposure of 15 seconds. It's considered short, since with a 14mm lens, you can usually go up to 30 seconds of exposure without getting noticeable star trails. To compensate for the short exposure, I needed high sensitivity, and so I used ISO3200. To get as much light to the sensor, I left the aperture open wide- f/2.8.
As for composition, I can't see much reason to discuss it in length. There's just nothing special about it- only a simple foreground and a simple background, and to tell you the truth, it wasn't really possible to pay as much attention to composition as I usually do in the rapidly changing Aurora. The thing I'm happy about is that the Aurora is filling the sky, providing a very good balance between the lower and upper parts of the frame. The light-spirals also provide a good contrast to the straighter lines in the rocks.
Post Processing
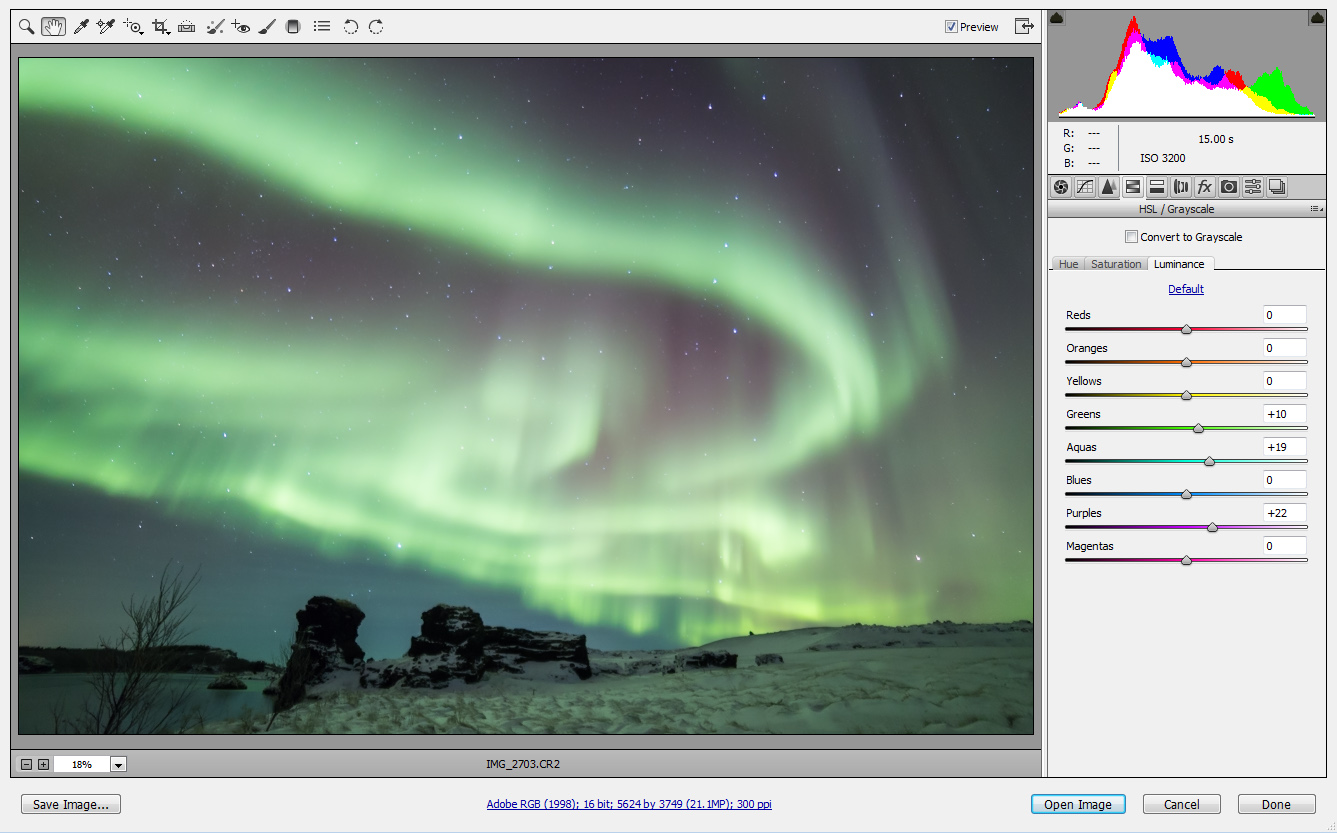
Let's have a look at the unprocessed RAW file. I opened the RAW image using Adobe Camera Raw (ACR) version 8.1.
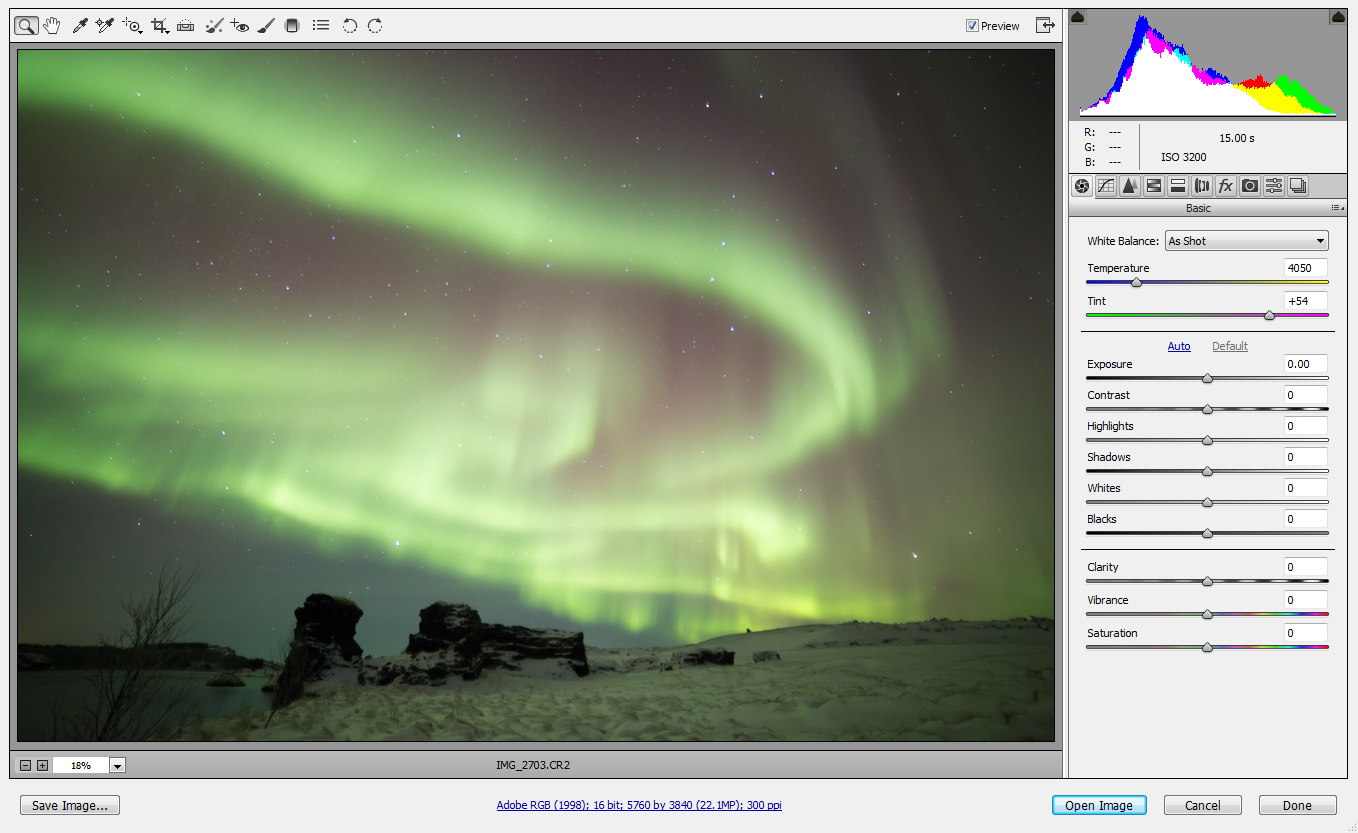
The Auto white balance went a bit too warm with the colors. I corrected this, and performed additional adjustments in ACR:
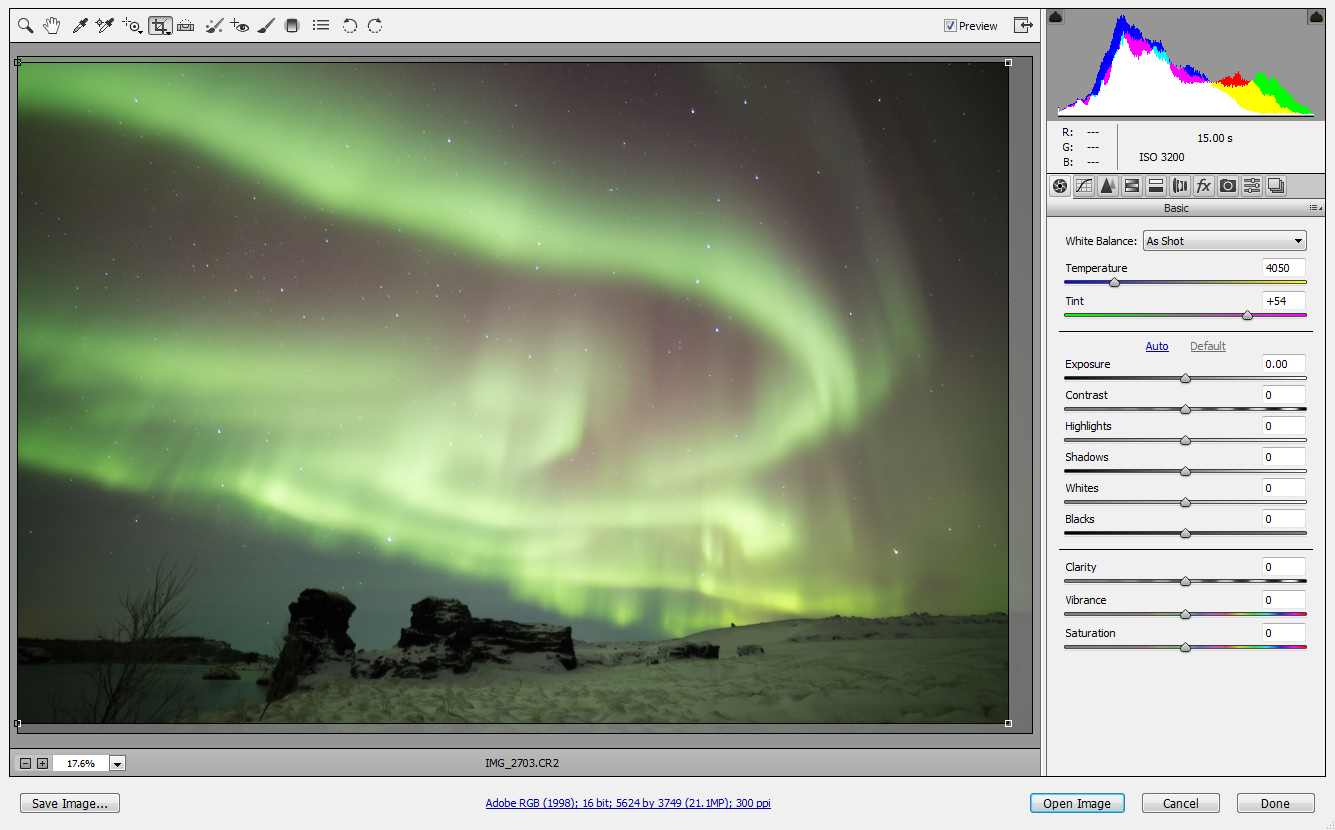

An important step was fixing the very strong vignetting common to ultra-wide lenses with wide apertures. I did that in ACR as well.
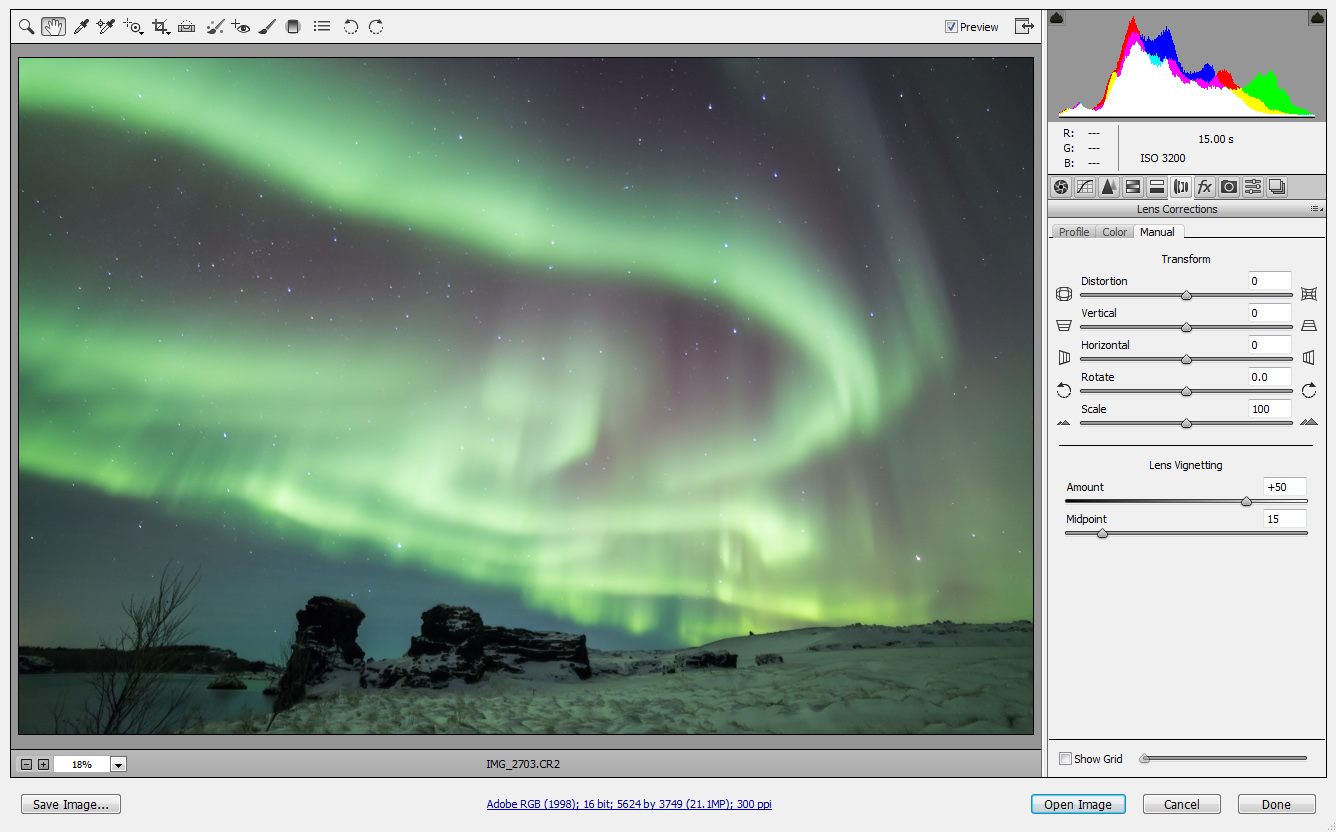
I continued in ACR, performing several color-specific luminance adjustments. These adjustments are meant to make the Aurora look more pronounced, and to have the different Auroral colors more apparent.
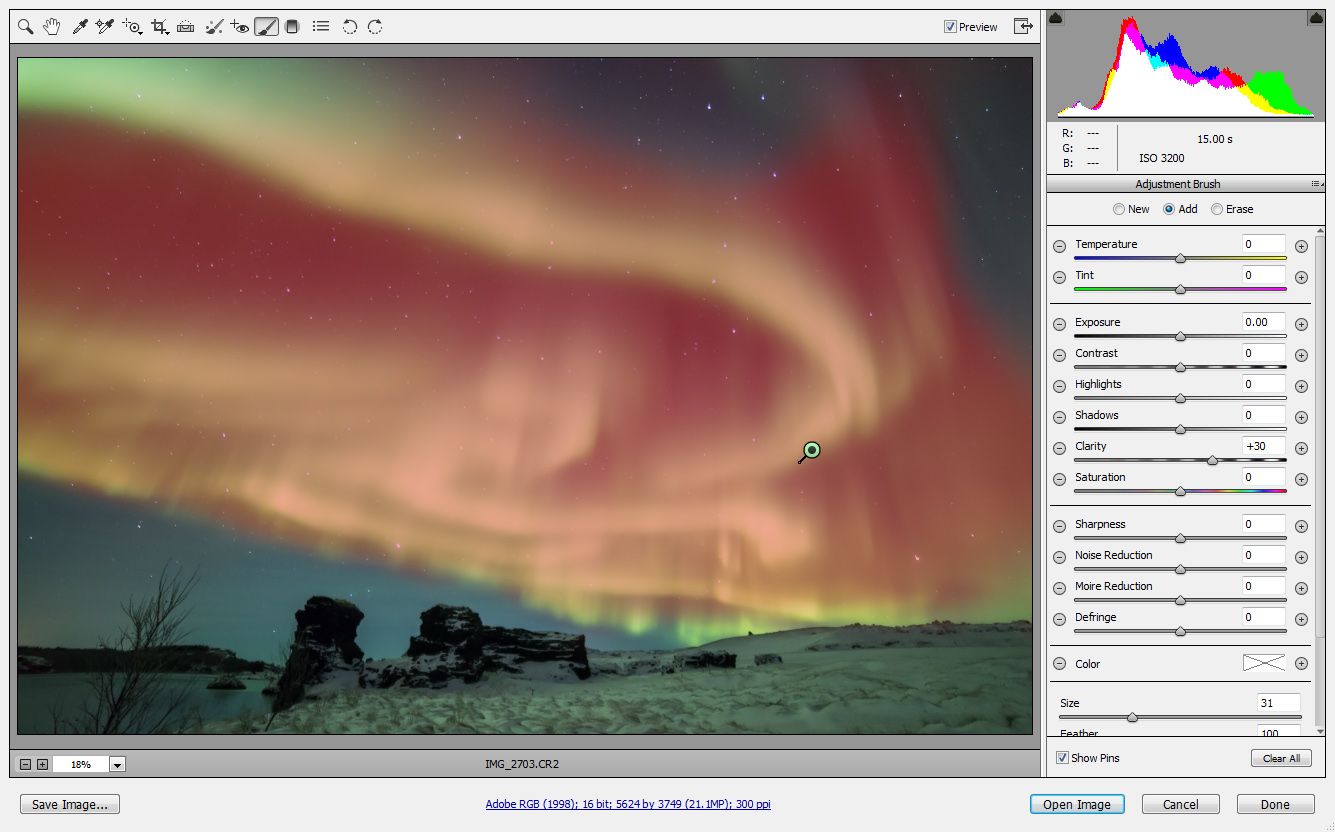
Finally, I did another local clarity boost in the sky area. You can see the parameters and the masked region in the image below.
After finishing the work in ACR, I saved the file as a TIFF and went on to open it in Photoshop.
The current file looks a bit too bright. The image was shot at night, after all, and having it this bright is misleading and doesn't convey the atmosphere like it should. I therefore needed to somehow darken the image. But lowering the brightness level would look very bad, and cause big parts of the image to turn completely black. To solve this, I created a selection restricted to the "not-so-dark" parts of the image. Let's see how this could be achieved.
First, I needed to create a selection restricted to the very dark pixels. This was done by inverting the image (duplicate layer, then ctrl-I), and creating a selection of the brightest pixels of the inverse image. This is done by ctrl-clicking the channel mask (channels view), and then multiplying the selection by itself several times by Ctrl-Alt-Shift-clicking on the channel mask.
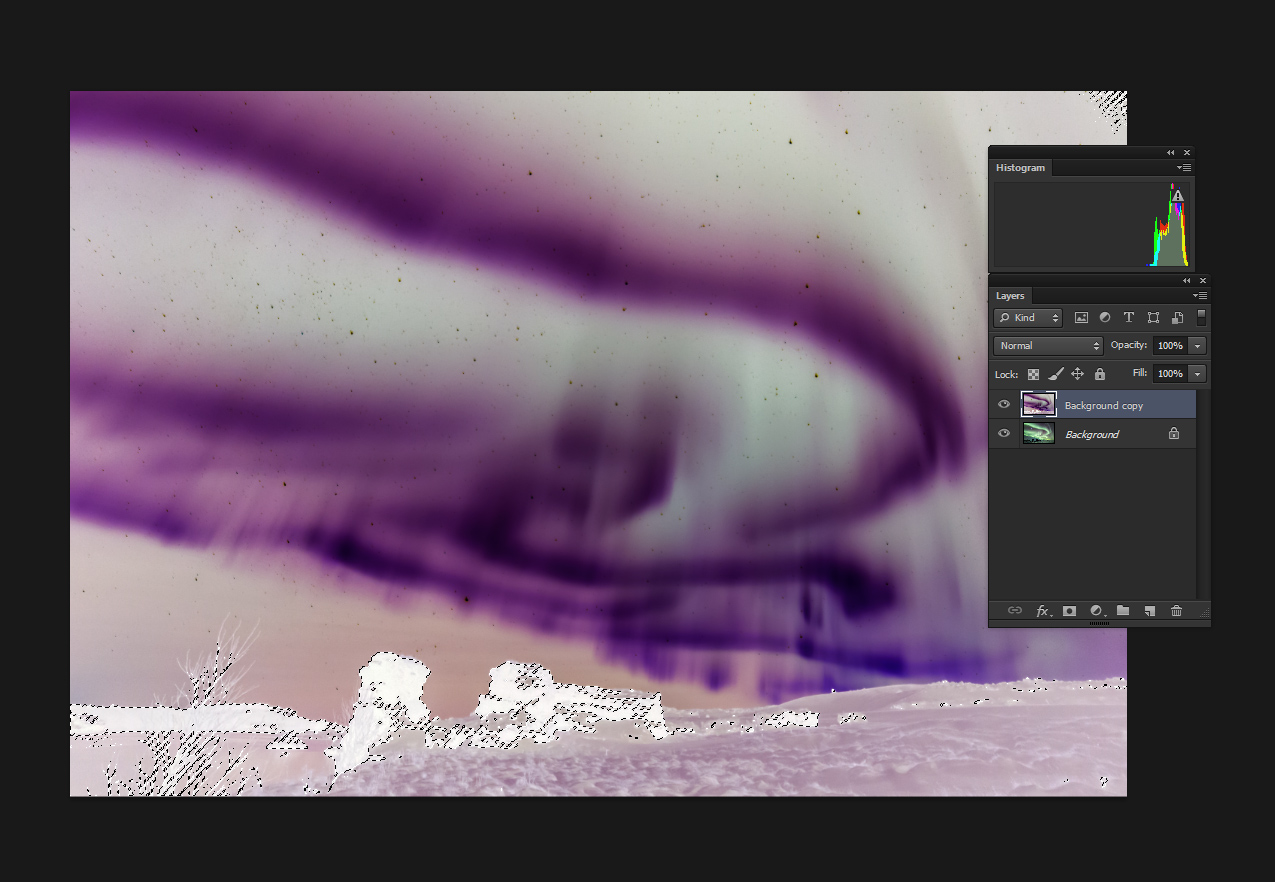
After getting a selection restricted to the darker pixels of the original image, I inverted the selection (Select->Inverse or Shift-Ctrl-I) to get a selection of the "not-so-dark" pixels.
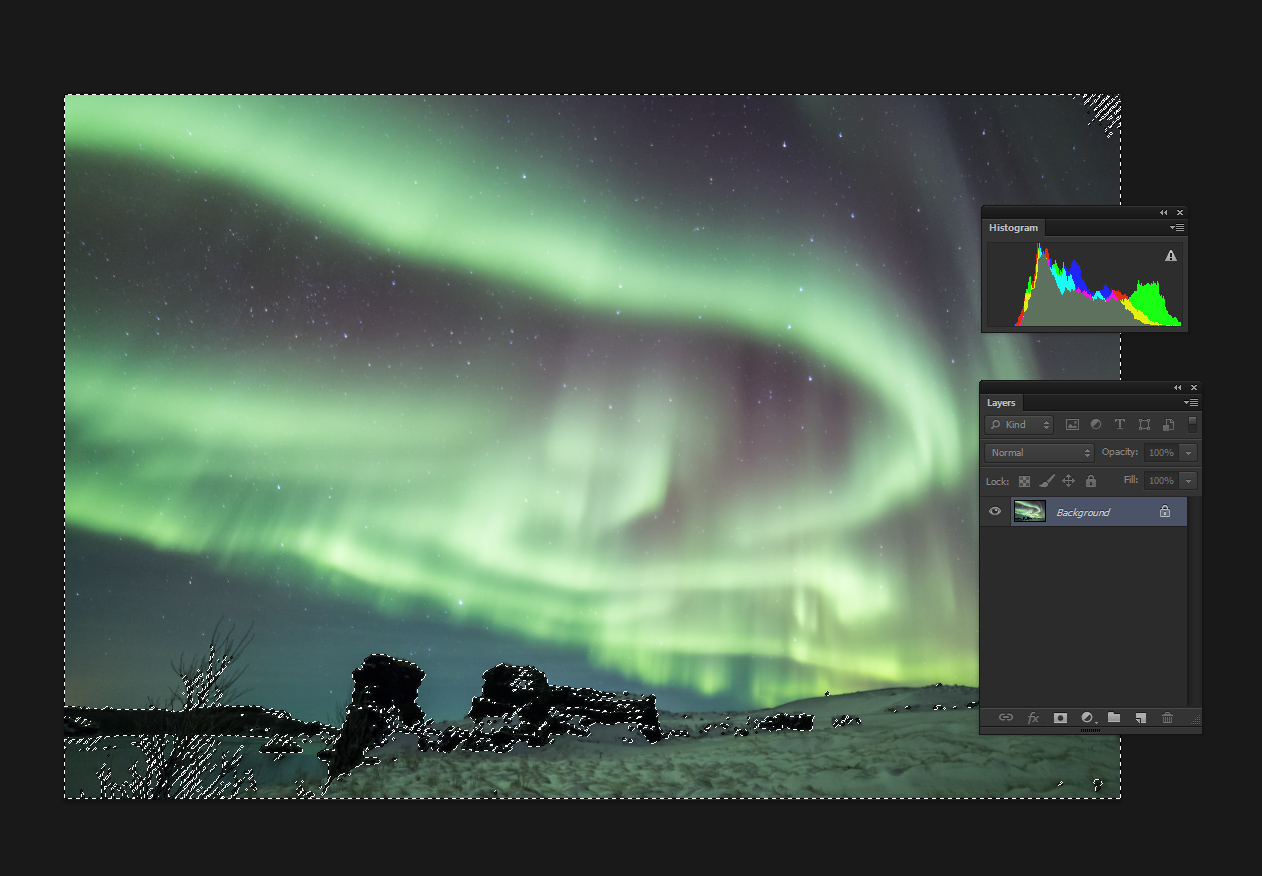
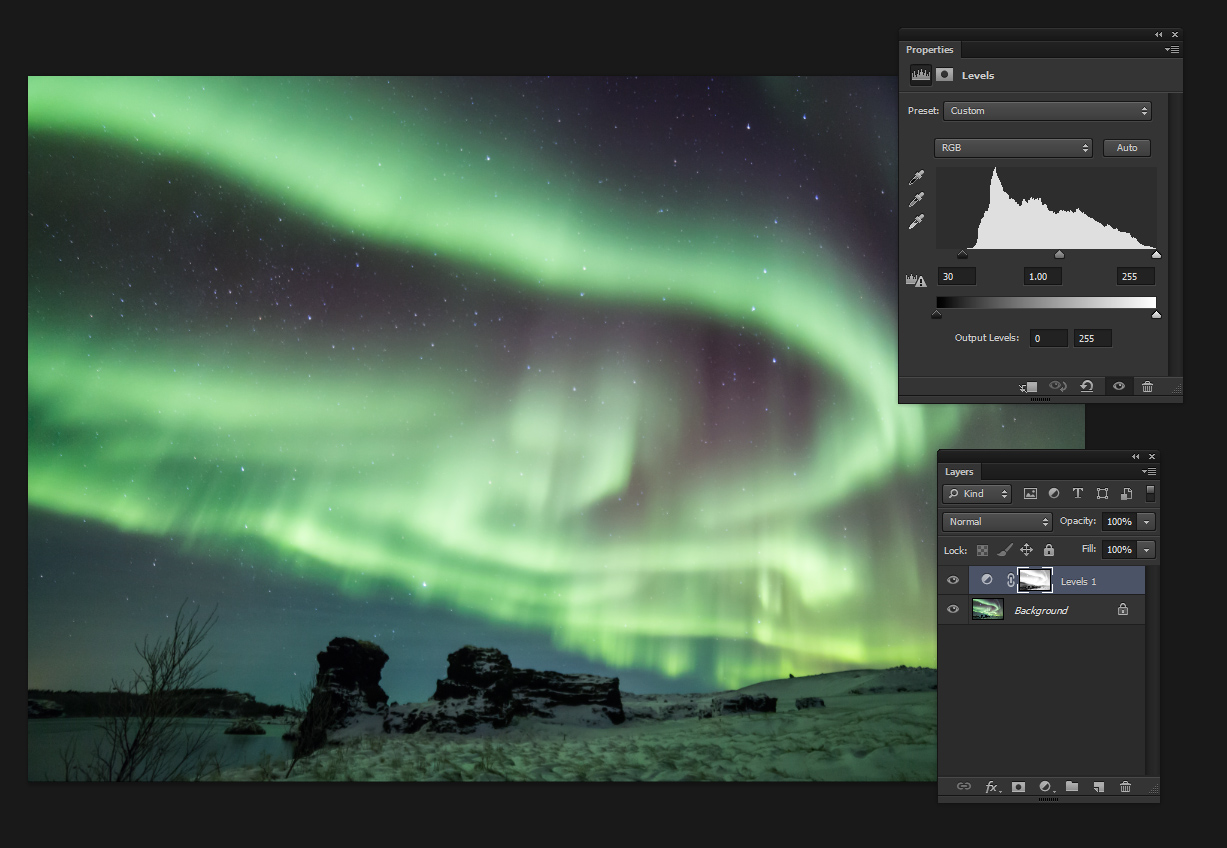
Once I had the selection I wanted, I simply used a levels adjustment layer to darken the image to my taste.
Upon completing the work, I saved the TIFF file for printing, converted the color space to sRGB for internet-use, performed size-reduction and some sharpening, and I was done.